
Disclosure: As an Amazon Associate, Treadluma earns from qualifying purchases. Our guides are based on manufacturer-published guidance, not hands-on testing.
Most treadmill breakdowns are not mechanical failures — they are maintenance failures. A dry belt strains the motor, a dusty motor compartment overheats, and a misaligned belt chews through itself. The good news: the entire preventive routine takes about fifteen minutes a month and requires no special skill. Here is what to do, how often, and why.
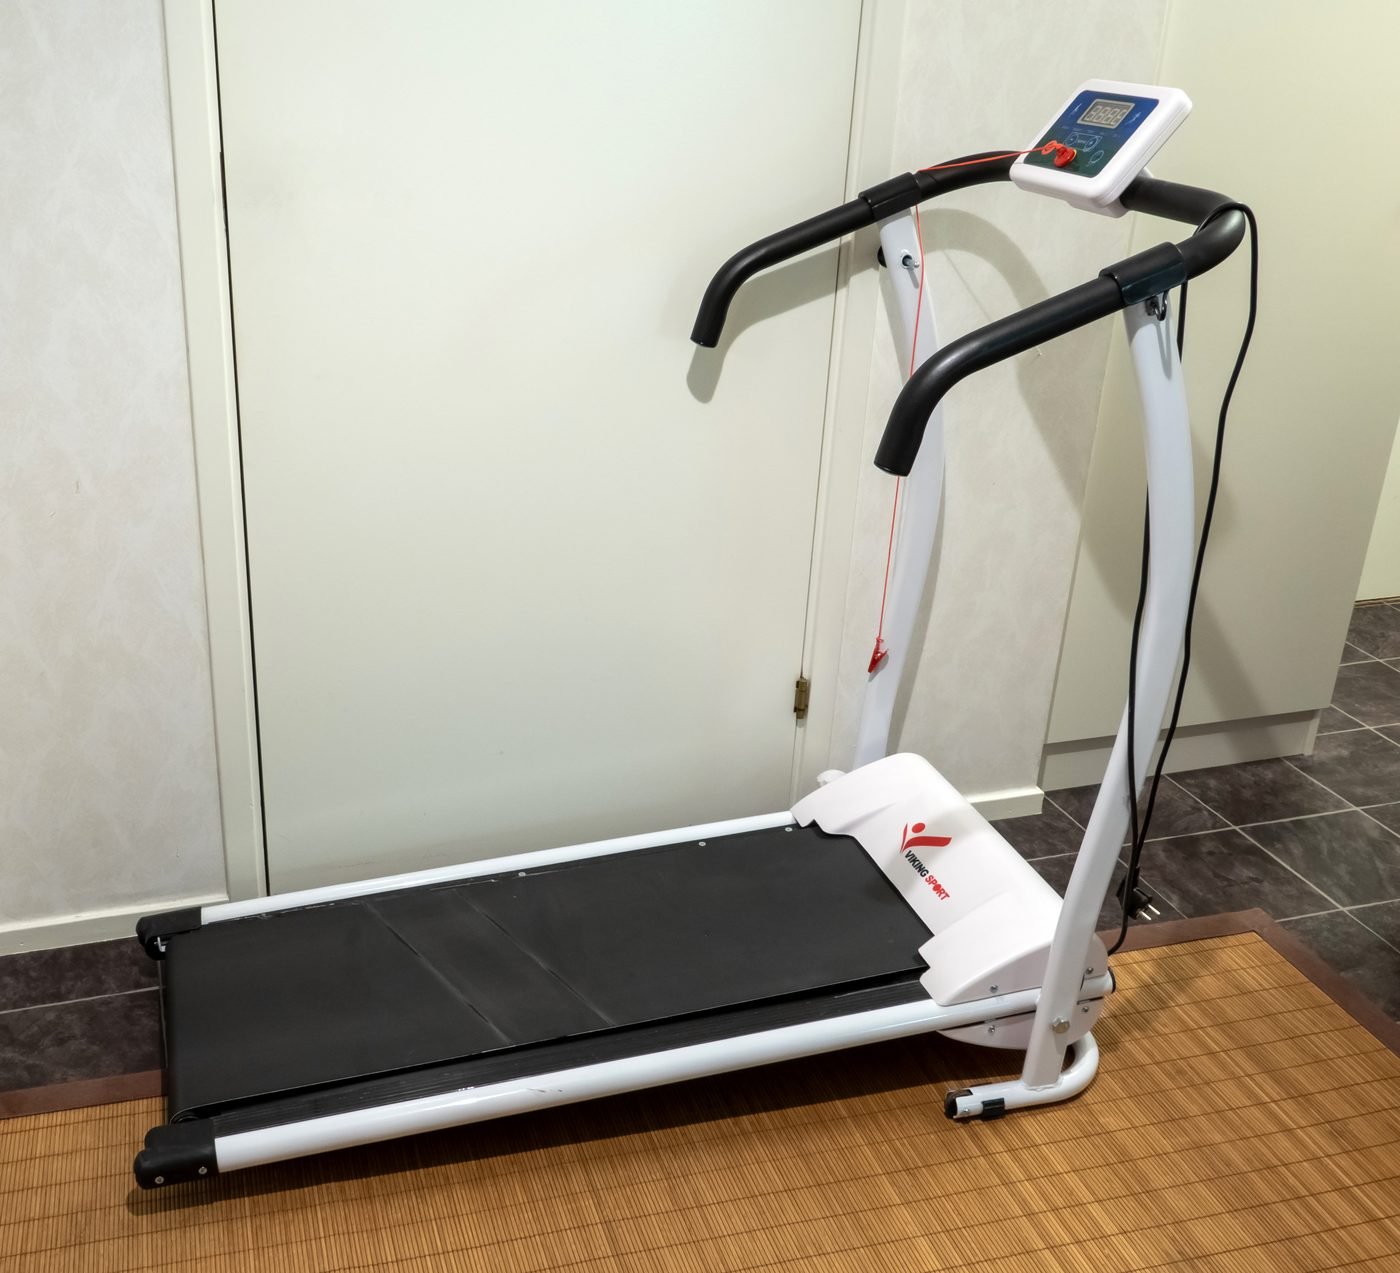
Monthly: Lubricate the Belt
Friction between the belt and the deck is the treadmill’s main wear mechanism. Manufacturers like Sole, NordicTrack, and Horizon all specify 100% silicone lubricant — not WD-40, not oil, not wax. Petroleum products degrade the belt material.
The procedure, per standard manufacturer guidance:
- Unplug the treadmill. Safety first — you will have your hands near the belt.
- Lift the edge of the belt in the middle of the deck. You should be able to lift it 2–3 inches.
- Apply a thin line of silicone lubricant lengthwise under each side of the belt, about 6–8 inches from the edge.
- Plug in and walk on the treadmill at 2–3 mph for 3–5 minutes to distribute the lubricant evenly.
How often? Monthly for daily users; every 2–3 months for light use. Some newer models ship with pre-lubricated or “maintenance-free” decks — check your manual, but even these benefit from occasional attention in dry climates.
A dry belt announces itself: the motor sounds strained, the belt hesitates slightly underfoot at startup, or the console throws a lubrication reminder. Do not ignore these signs — running dry overheats the motor controller, which is the most expensive part to replace.
Weekly: Wipe Down Belt and Deck
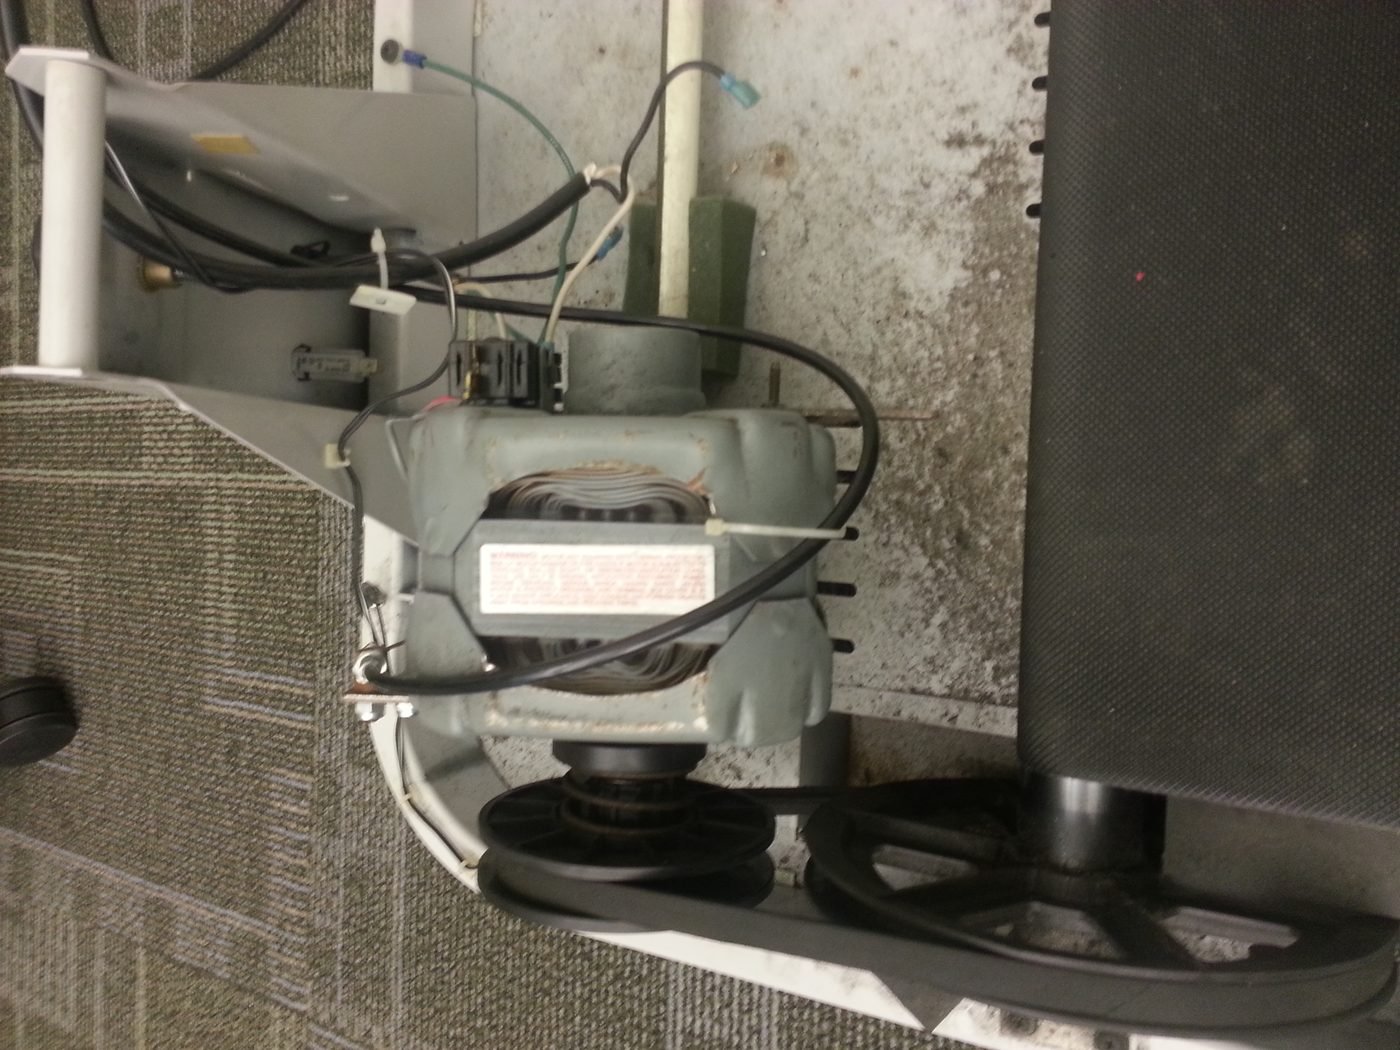
Sweat is corrosive. Dust becomes grinding paste under the belt. After each run, wipe the belt surface with a damp cloth. Weekly, vacuum around and under the treadmill — especially the motor compartment vents at the front.
This matters more than it sounds. Dust buildup inside the motor cover is a leading cause of overheating shutdowns. Most manufacturers’ manuals include a vacuuming step for exactly this reason. A handheld vacuum and two minutes is all it takes.

Monthly: Check Belt Alignment and Tension
A centered belt runs quietly and wears evenly. A drifting belt rubs the side rails and frays. Check alignment monthly:
- Run the treadmill at 3–4 mph with no one on it.
- Watch the belt for 30 seconds. It should stay centered between the side rails.
- If it drifts left or right, stop the machine and turn the rear roller adjustment bolt on the drifting side a quarter-turn clockwise with the Allen wrench that came with your treadmill.
- Re-run and re-check. Small adjustments — never more than a quarter-turn at a time.
Tension is correct when you can lift the belt 2–3 inches in the middle. If the belt slips underfoot during use, it is too loose — tighten both rear bolts equally, a quarter-turn at a time. If the belt feels stiff and the motor strains, it may be too tight.
Every 6 Months: Inspect the Power and Hardware
Twice a year, do a deeper check:
- Power cord and outlet: treadmills draw significant current. Plug directly into a wall outlet, never a power strip or extension cord — manufacturers universally warn against this, and voltage drop from long cords is a real cause of controller faults.
- Deck bolts: vibration loosens hardware. Check the visible bolts on the frame and console mast with the included wrench.
- Motor compartment: unplug, remove the motor cover (usually 4–6 screws), and vacuum out dust. Look for anything unusual — frayed wires, scorch marks — and contact the manufacturer if you see them.
What Voids Your Warranty
Warranties on treadmills are generous on paper — lifetime frame and motor is common from Sole and Horizon; NordicTrack typically offers 10 years on frame. But warranties assume basic maintenance. Documented neglect (a bone-dry belt, a motor compartment packed with dust) gives manufacturers grounds to deny claims. Keep a simple log: date, what you did. A notes app is fine.
Also note: using the wrong lubricant, modifying the electronics, or exceeding the published user weight capacity (300 lb on the Horizon T101 and NordicTrack T 6.5 Si; 325 lb on the Sole F63; 220 lb on the WalkingPad P1) can void coverage.
When to Call a Professional
DIY maintenance covers prevention. Stop and call for service if you notice:
- Burning smells from the motor area
- The circuit breaker trips repeatedly during use
- Loud grinding or knocking that alignment and lubrication do not fix
- A console that powers on but will not start the belt
These point to controller, motor, or wiring issues — not user-serviceable parts.
The 15-Minute Monthly Checklist
- Lubricate the belt with 100% silicone (5 min)
- Vacuum around the base and motor vents (3 min)
- Wipe down belt, rails, and console (3 min)
- Check belt centering at 3 mph (2 min)
- Confirm 2–3 inches of belt lift for tension (2 min)
Do this and a home treadmill from any major brand — whether you followed our buying guide to pick a runner’s model or chose a walking pad for your desk — will outlast its warranty by years. Skip it and even the best machine becomes a very expensive clothes rack.
Maintenance guidance above reflects standard manufacturer recommendations. Always follow your specific model’s user manual — procedures vary slightly by brand.